Uploading an Image
To upload a new image into the system, follow these steps:
1. Navigate to the Manage Images page:
- From the main navigation bar, click Media and select Manage Images. You will be taken to the "All Images" interface where you can upload and manage your images.

2. Upload a New Image:
Once on the All Images page, you will see two options for uploading images:
- Drag & Drop: You can drag and drop one or more images directly into the designated area that says "Drag & Drop New Images Here."
- Choose Files: Alternatively, click the Choose Files button to open a file selection dialog and manually select the images from your computer.

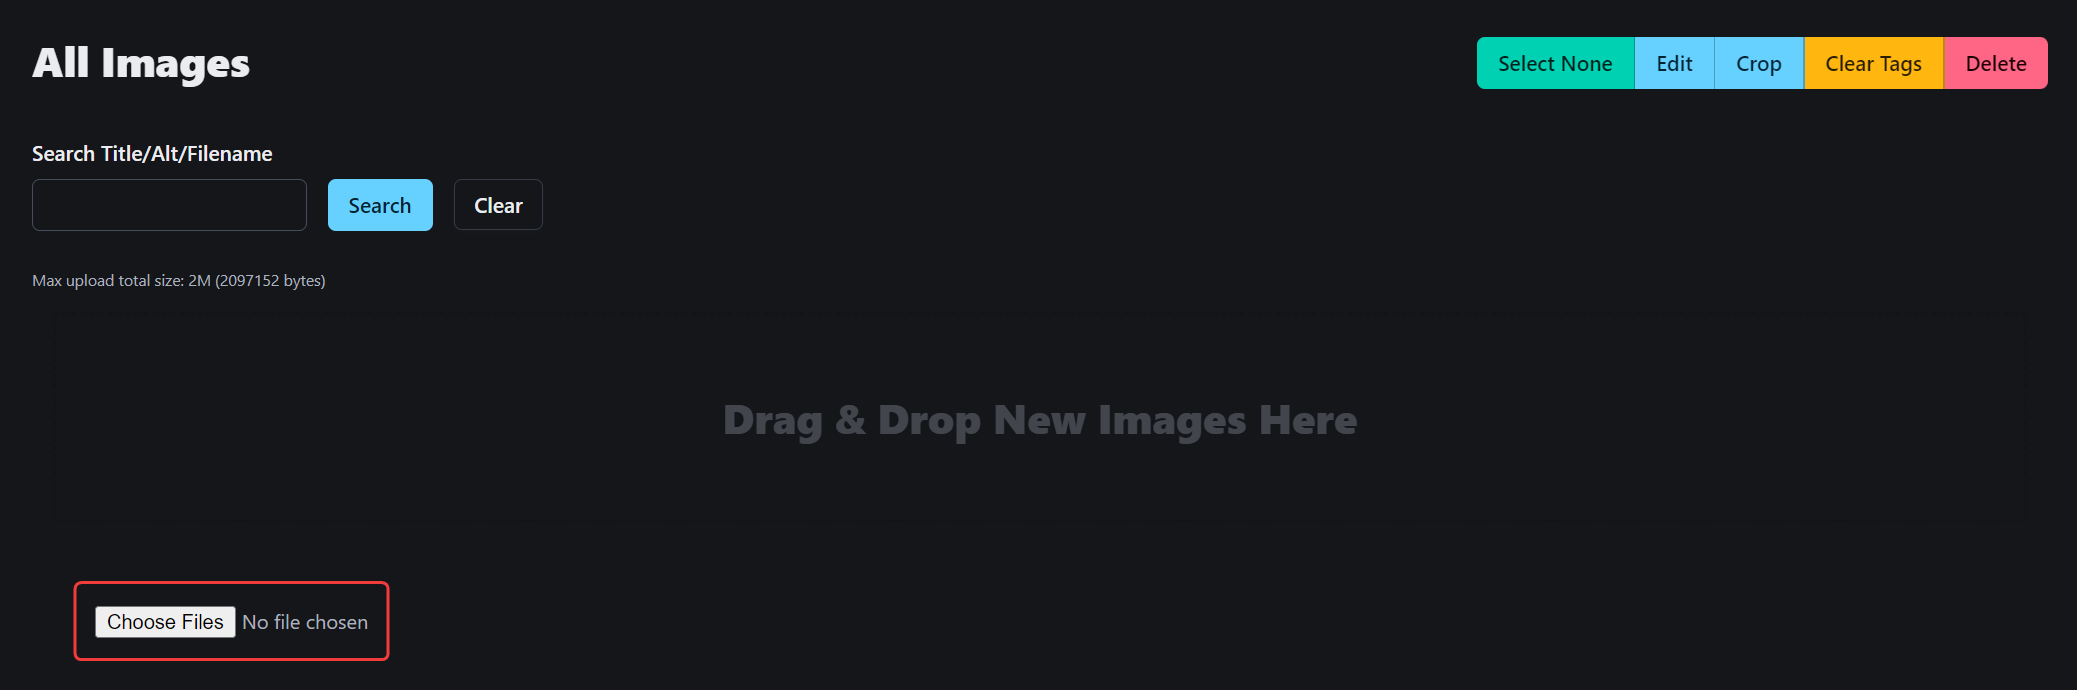
Max upload file size: 2MB (2097152 bytes)
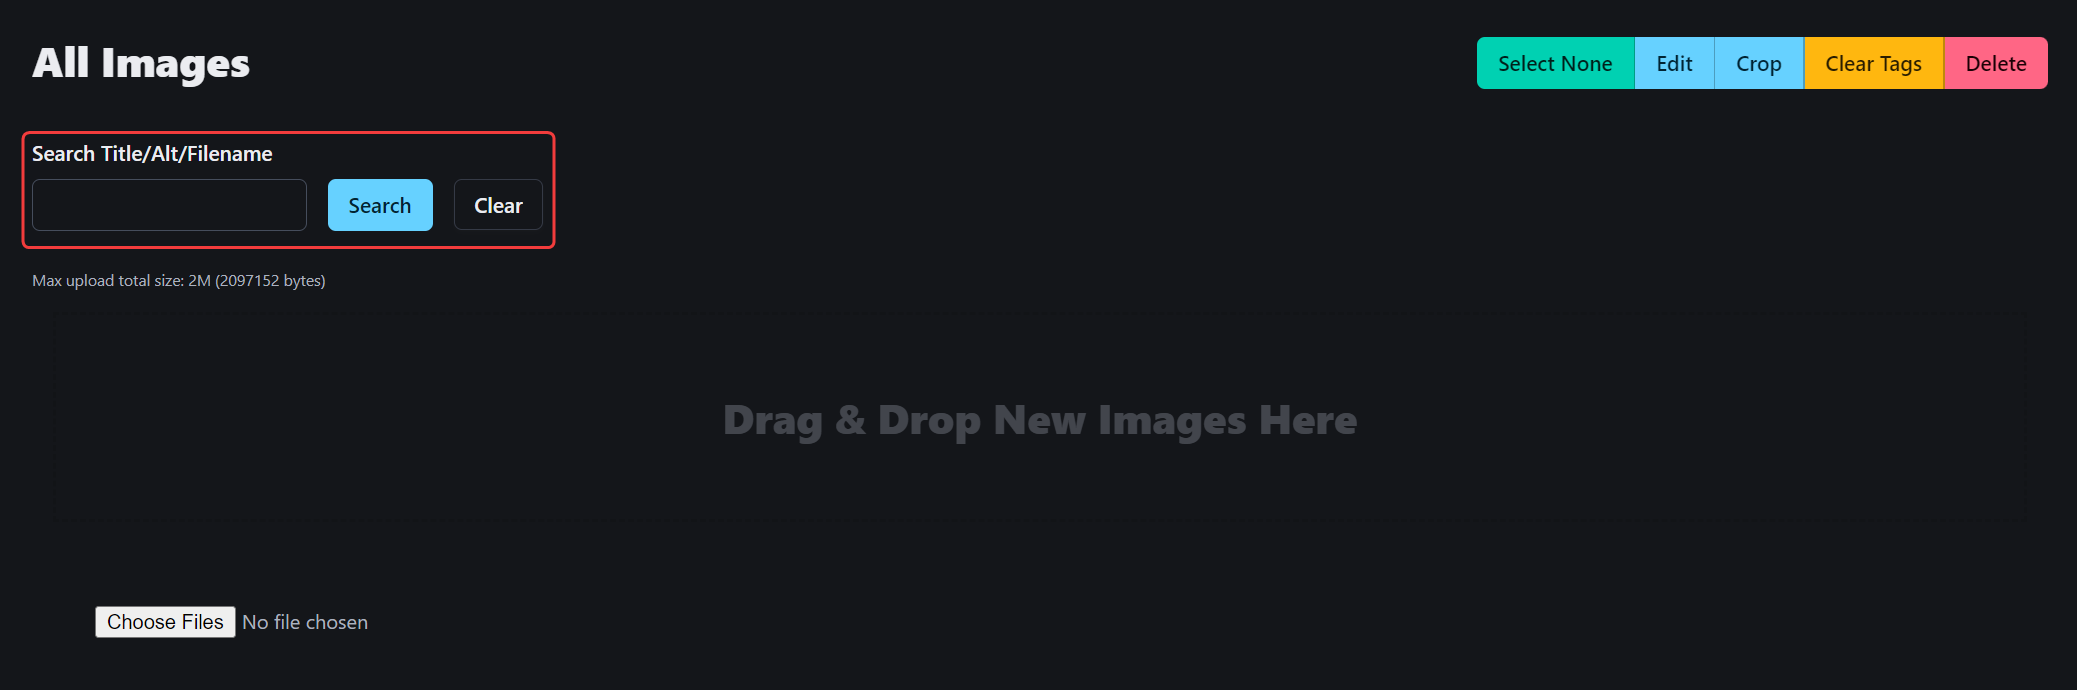
3. Search for Existing Images:
If you are looking for an existing image, you can search using the Search Title/Alt/Filename field. Enter your search term and click Search to filter images based on your criteria. You can also click Clear to reset the search results.
4. Managing Uploaded Images:
Once your images are uploaded, they will appear in the list below. From here, you can:
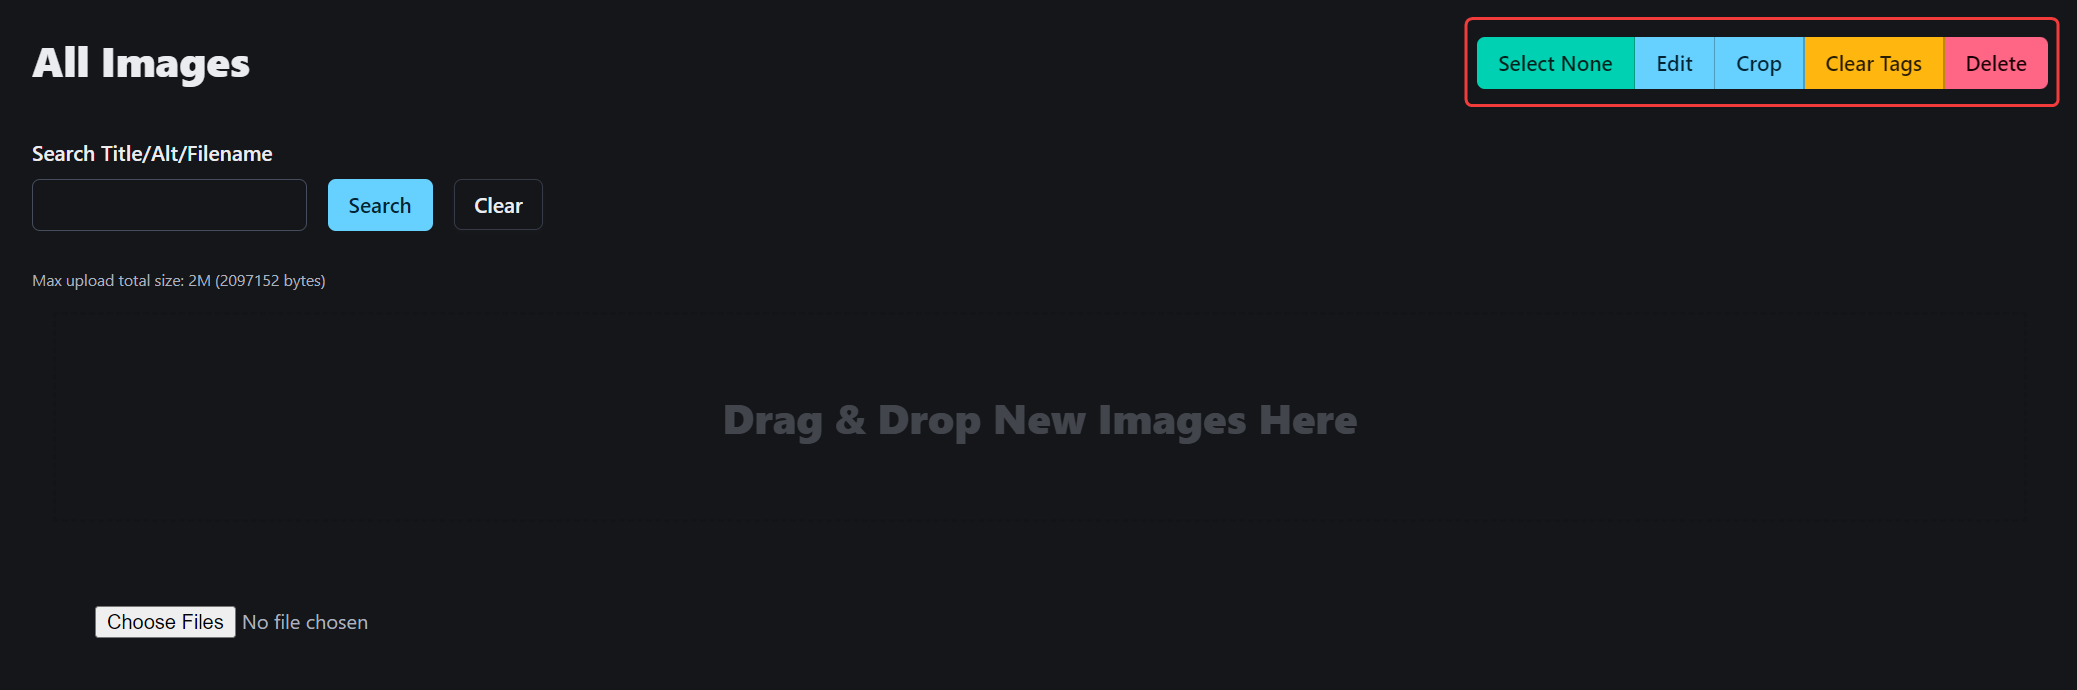
- Select None: Deselect all currently selected images.
- Edit: Make edits to the image’s title, alt text, or other metadata.
- Crop: Adjust the dimensions of the image.
- Clear Tags: Remove all tags associated with the selected image.
- Delete: Permanently delete the selected image(s) from the system.
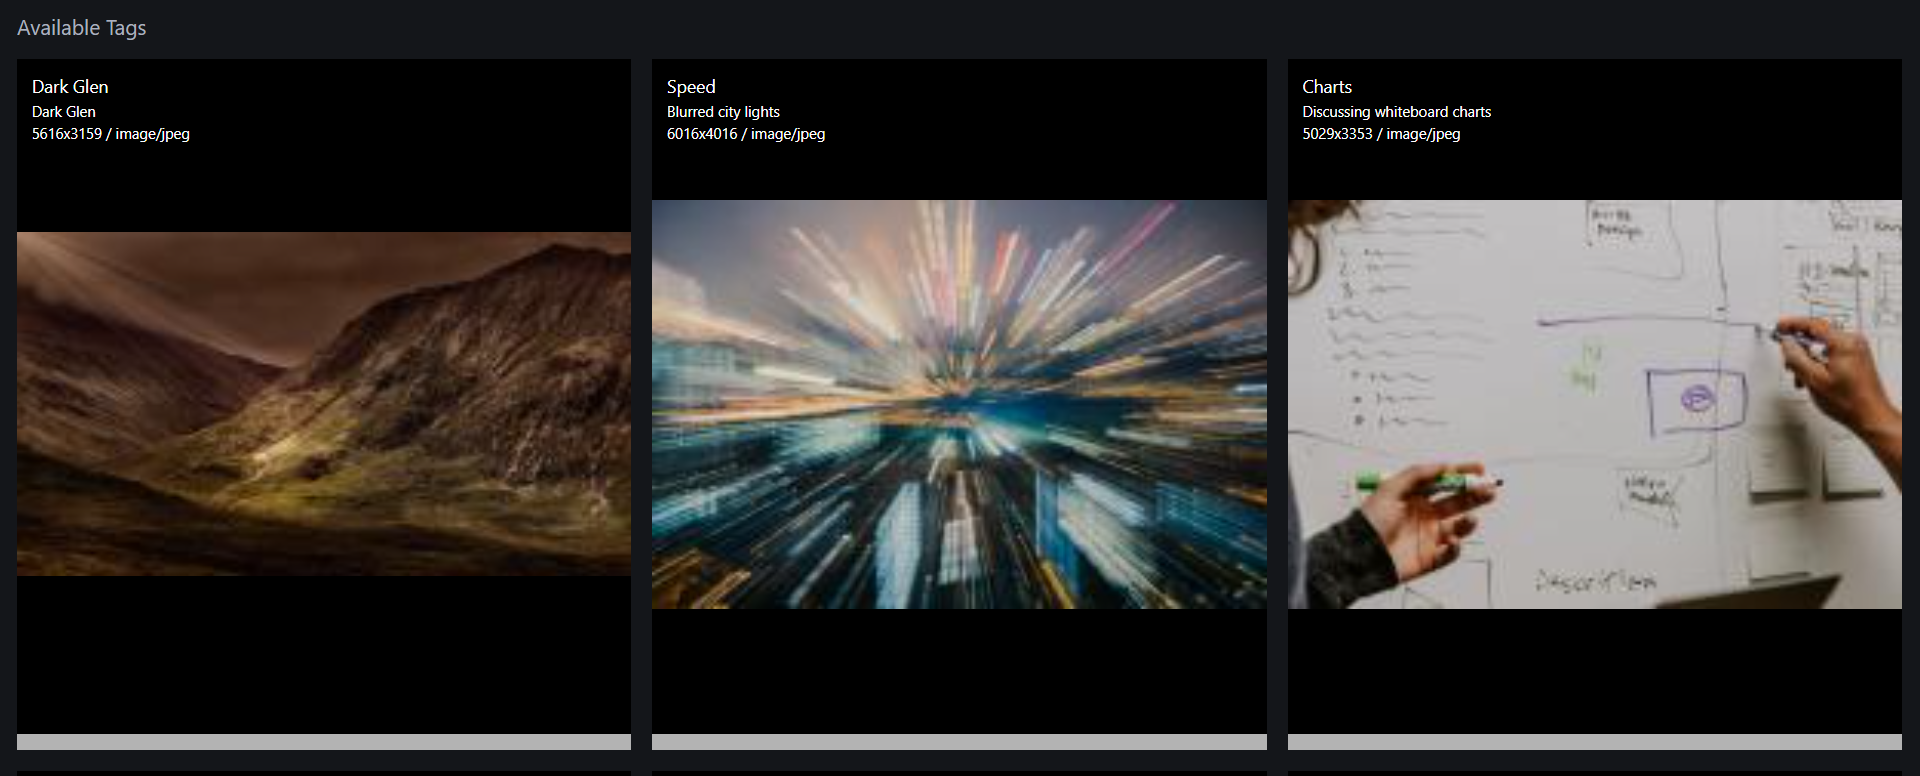
5. Viewing and Organizing Uploaded Images:
Uploaded images are displayed in a grid layout. Each image displays relevant details like its title, tags, and dimensions (width x height). You can manage your images by adding tags to them or by categorizing them for better organization.
6. Tagging an Image
Tagging images helps with better organization and searchability. To tag an image, follow these steps:
-
Select an Image:
- Click on an image in the image grid. The selected image will be highlighted (as shown below), indicating that it is ready for tagging.
- Click on an image in the image grid. The selected image will be highlighted (as shown below), indicating that it is ready for tagging.
-
Choose a Tag:
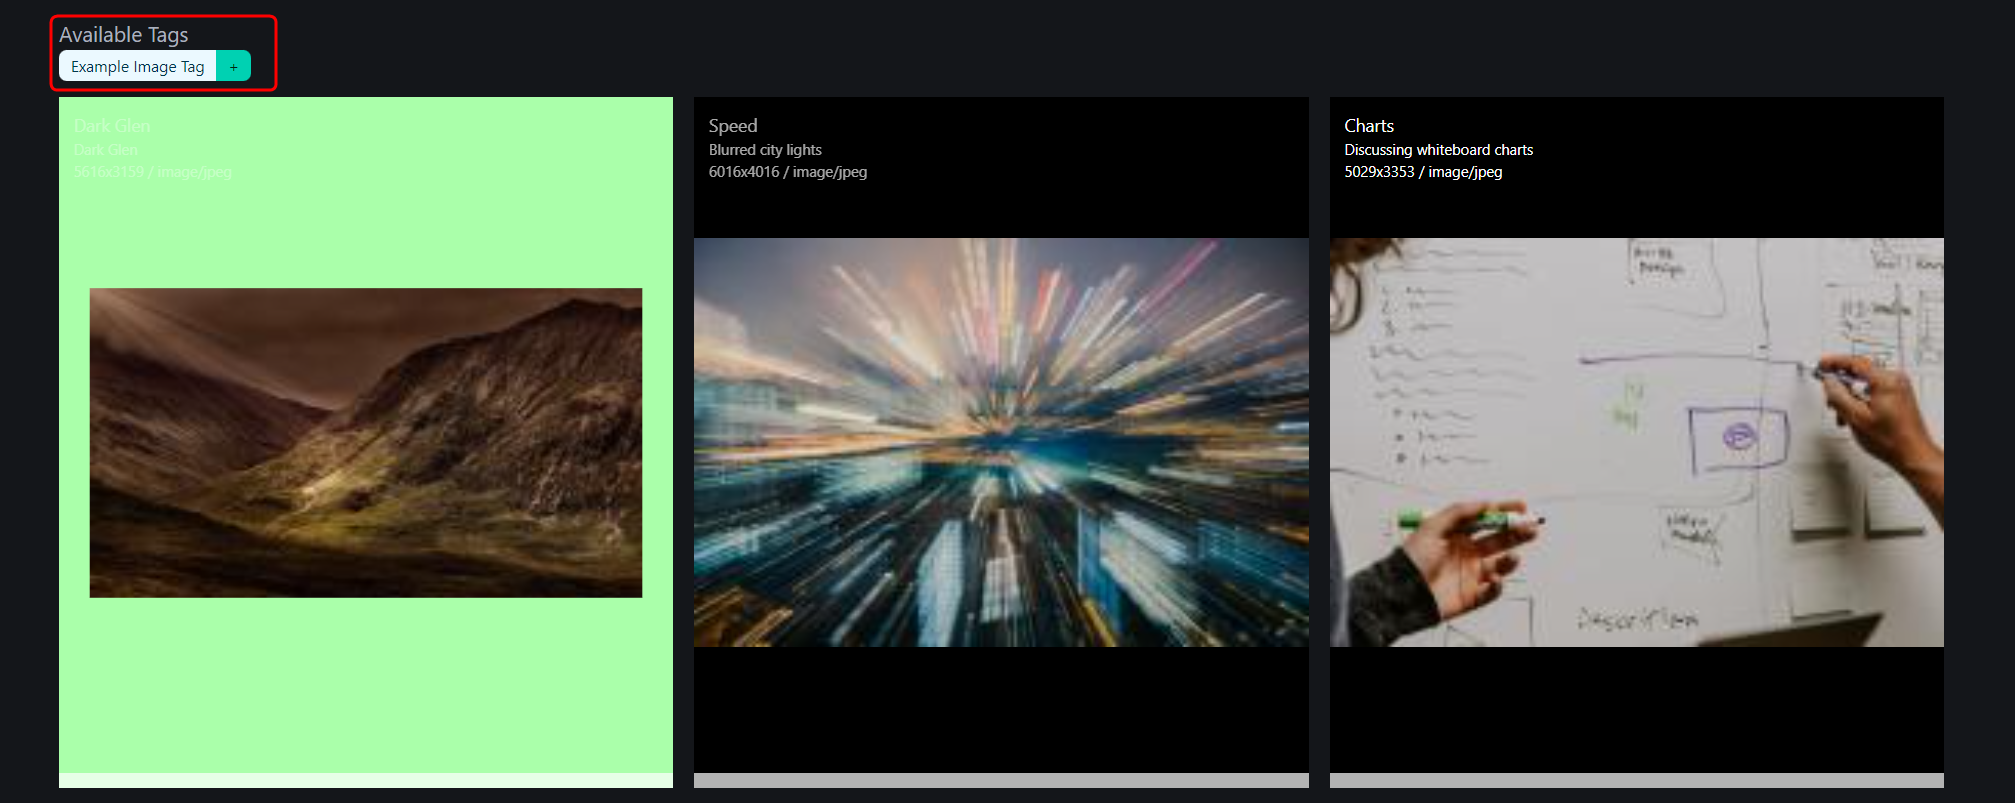
-
Above the grid, you will see the Available Tags section.
-
Click the green
+on an existing tag from this list to apply it to the selected image. (For information on creating new tags, see Creating a New Tag.) -
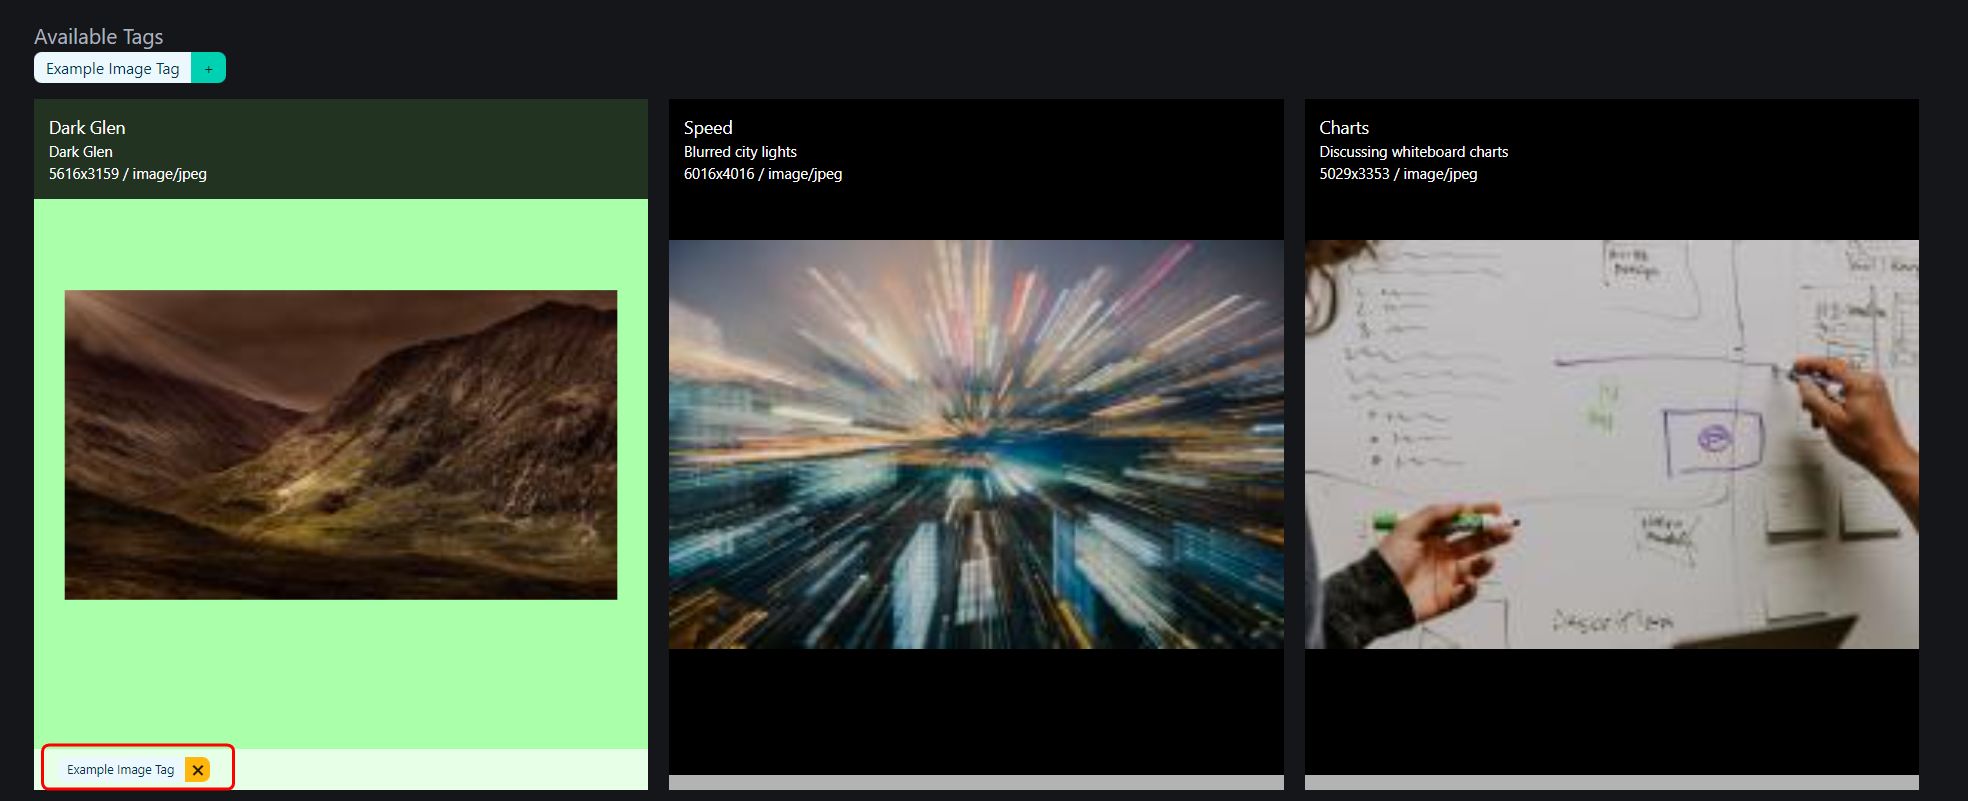
Once applied, the tag will appear at the bottom of the selected image, showing that it has been successfully added.
-
-
Remove a Tag (Optional):
- If you want to remove a tag, simply click the X icon next to the tag’s name at the bottom of the image, or select the image and click Clear Tags from the menu at the top of the page.
-
Deselect the Image:
- Once you are done tagging, you can either:
- Deselect the image by clicking on it again, or
- Click Select None at the top of the page to clear all selected images.
- Once you are done tagging, you can either: