Managing Users
To manage users in the system, follow these steps:
1. Navigate to the Users page:
- On the main menu bar, click Users to access the user management section.
2. Searching for a User:
On the Users: All page, you will see several options for filtering and searching users:
-
Search Name/Email: Enter the name or email of the user you’re looking for and click Search.
-
State: Use the dropdown to filter users based on their state (e.g., Published or Unpublished).
-
Group: Filter users by selecting a user group from the Group dropdown (e.g., Administrators or Contributors).
-
Tagged: Filter users based on specific tags that have been applied to them.
Click Clear to reset all filters.
3. Managing Users:
After searching or viewing all users, you can perform the following actions on selected users:
- Publish: Set the user’s state to Published, making them active in the system.
- Unpublish: Set the user’s state to Unpublished, making them inactive.
- Delete: Permanently remove the selected user(s) from the system.
- New User: Click this button to create a new user (covered in the next section).
4. Creating a New User:
To add a new user, click the New User button in the top right corner of the Users: All page (covered in previous section).
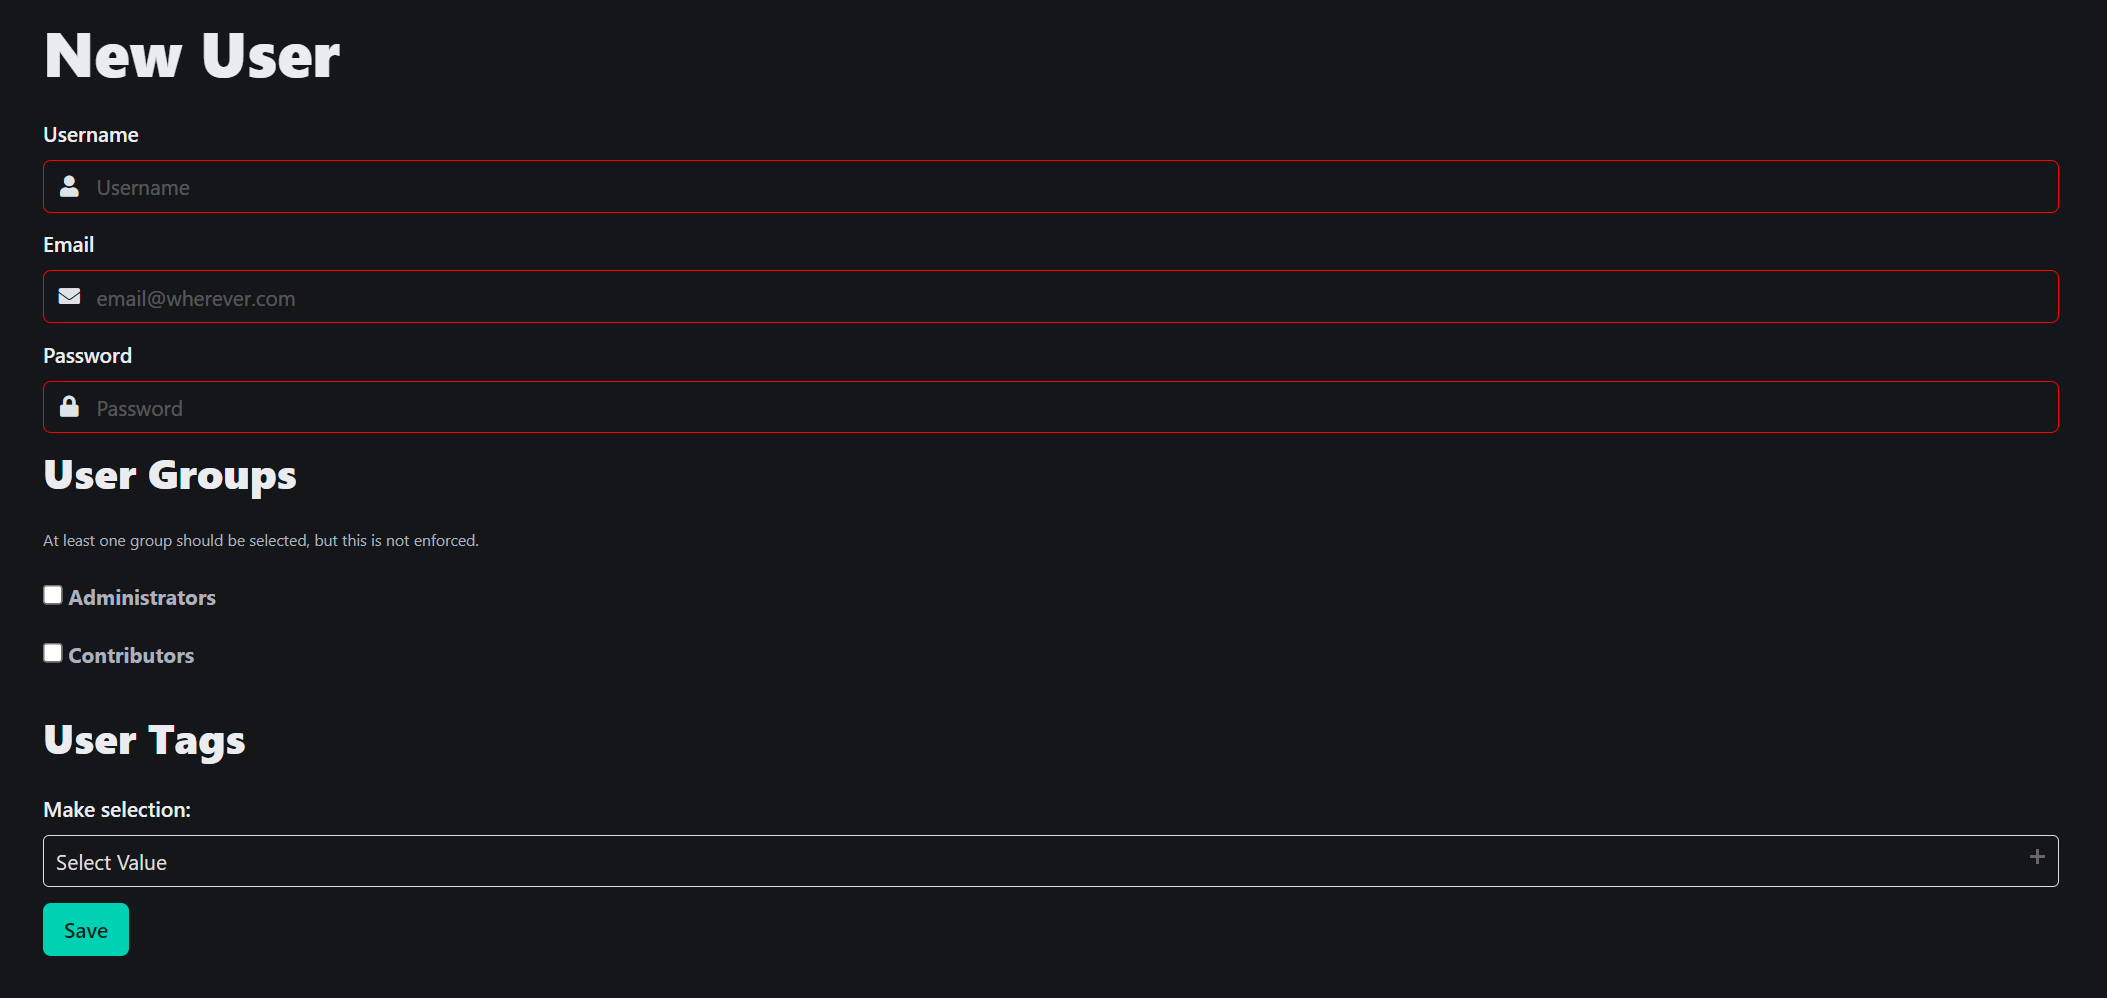
You will be taken to the New User form, where you can enter the following details:
4.1 User Details:
- Username: Enter a unique username for the user.
- Email: Provide the user’s email address.
- Password: Assign a password for the user. This can later be changed by the user.
4.2 User Groups:
- User Groups: Choose one or more groups that the user should belong to (e.g., Administrators, Contributors). At least one group should be selected.
4.3 User Tags:
- User Tags: Select any relevant tags to assign to the user from the User Tags dropdown.
Once all the necessary information is entered, click Save to create the new user.
5. Editing Existing Users:
To edit an existing user, click on their Name in the user list. This will open the user’s profile, where you can modify the same details as when creating a new user. After making changes, click Save to update the user's information.
6. Quick Toggle User Status
To quickly change a user's status, click the toggle button next to the user’s name. The button will either display a red X (indicating the user is inactive) or a green checkmark (indicating the user is active).


