
Creating a New Basic Article
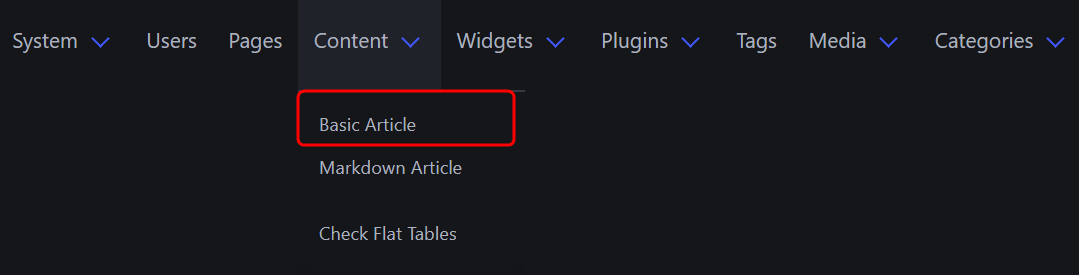
1. Navigate to Content > Basic Article:
- From the main navigation bar, select Content, then click Basic Article.
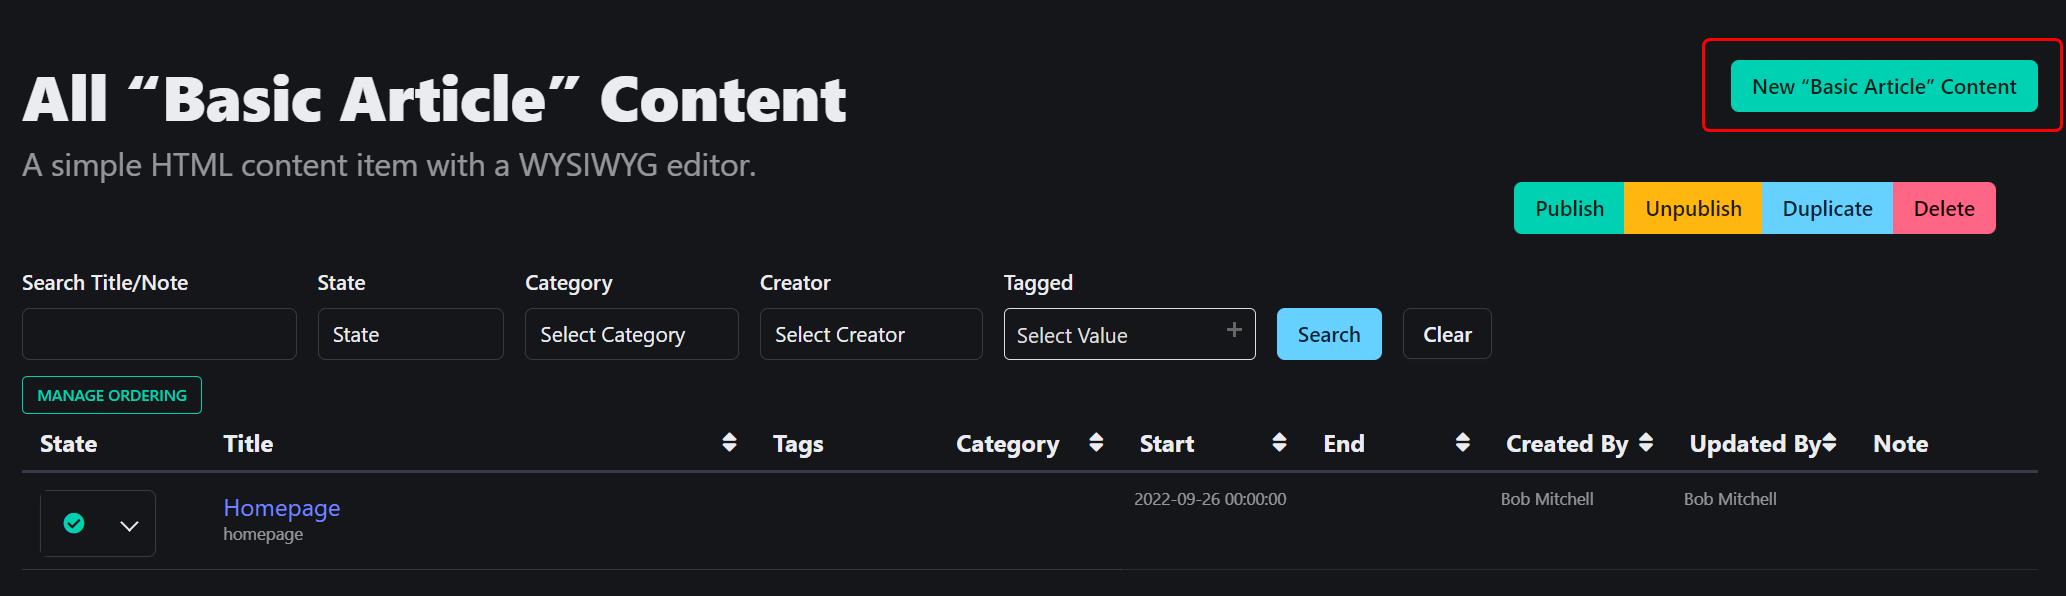
- You will be directed to the "All Basic Article Content" page, where you can view, search, and manage all existing basic articles.
2. Create a New Article:
- Click the New "Basic Article" Content button in the top right corner of the page.
- You will be redirected to the "New Content" form, where you can start entering the article details.
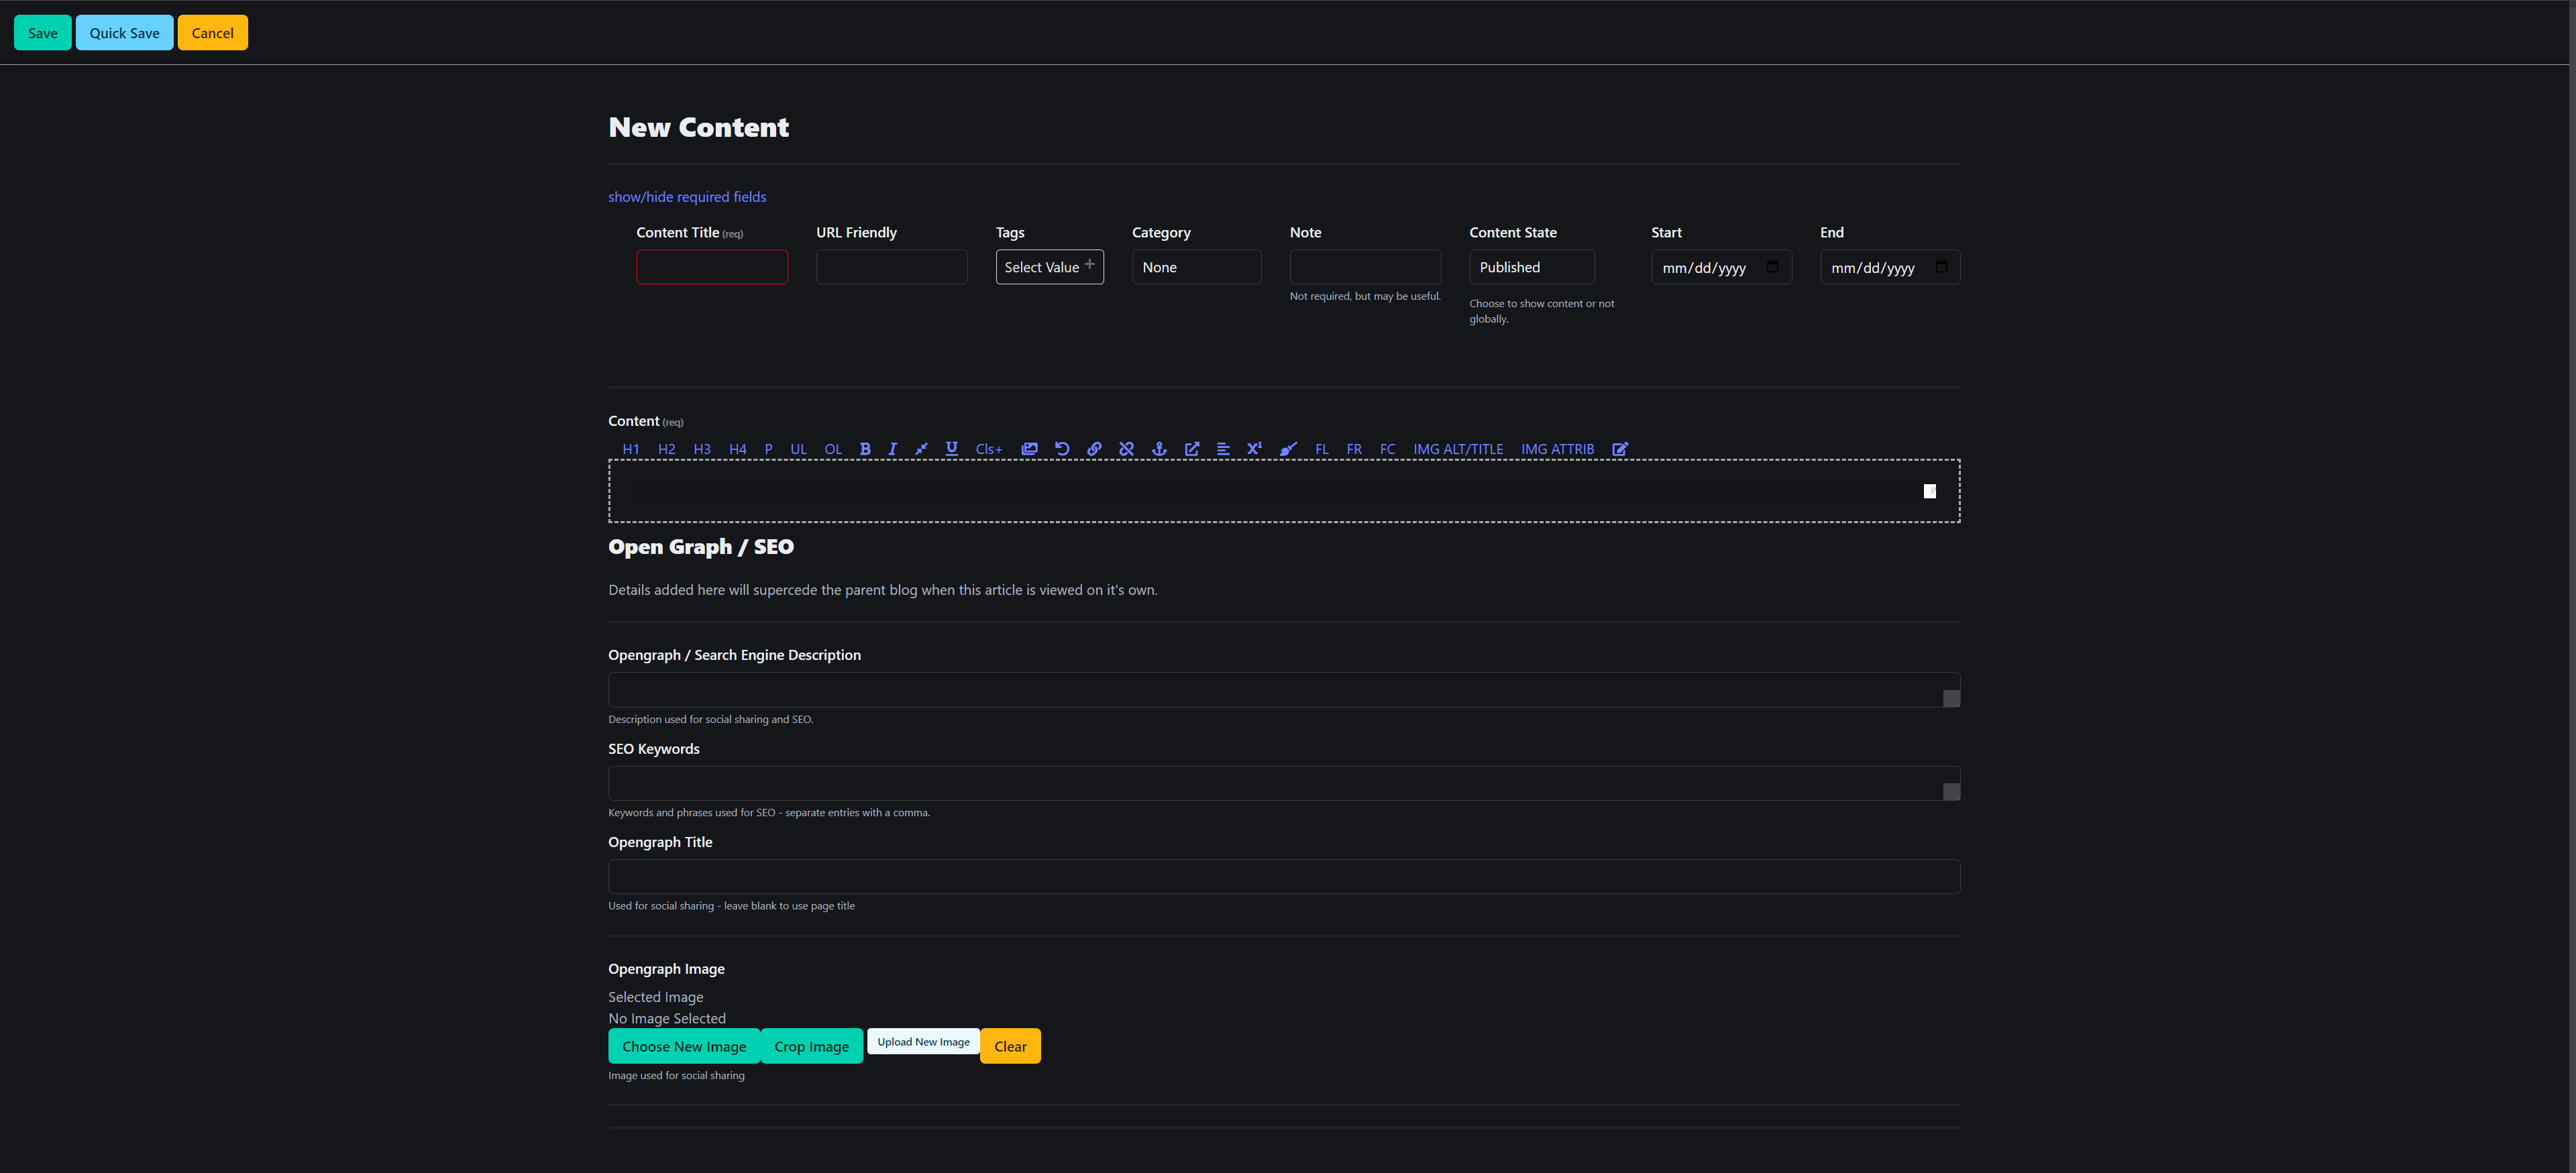
2.1 Content Title:
- Enter the title for your new article. This will be the main heading and used to identify the article in the content list.
2.2 URL Friendly:
- Input a URL-friendly version of the article title (typically auto-populates based on the title). Ensure this is URL-safe by using only letters, numbers, hyphens, and underscores.
2.3 Tags:
- Assign tags to the article by selecting from the available tags in the dropdown. This helps categorize the content for easy retrieval and filtering.
2.4 Category:
-
Choose a category for the article. This will help in grouping content under similar categories. (See Creating a New Category)
2.5 Note (Optional):
-
Add an optional note for internal purposes. This will not be visible to the public.
2.6 Content State:
- Set the content state to Published (to make it visible) or Unpublished (to keep it hidden).
2.7 Start/End Date:
- Optionally, set the Start and End dates for the article to control when the content should be available.
3. Add Content:
3.1 Content Editor:
- Use the text editor to add your content. You can format text, add headers, lists, media, and more using the available tools. (See Content Editor)
4. Open Graph / SEO:
To enhance the article’s visibility for social sharing and SEO purposes, fill in the following details (optional but recommended):
4.1 Opengraph / Search Engine Description:
-
Enter a short description of the article. This will be used for social media sharing and search engines.
4.2 SEO Keywords:
-
Add keywords that are relevant to the content. Separate keywords with commas.
4.3 Opengraph Title:
-
Set a title that will be used when the article is shared on social media. Leave blank to use page title.
4.4 Opengraph Image:
-
Upload or choose an image that will be used when the article is shared on social platforms.
5. Save or Publish:
- Once all fields are filled in, you can either:
- Save: Save the article as a draft or update it without publishing.
- Quick Save: Save the article quickly without navigating away from the current screen.
- Cancel: Discard all changes.